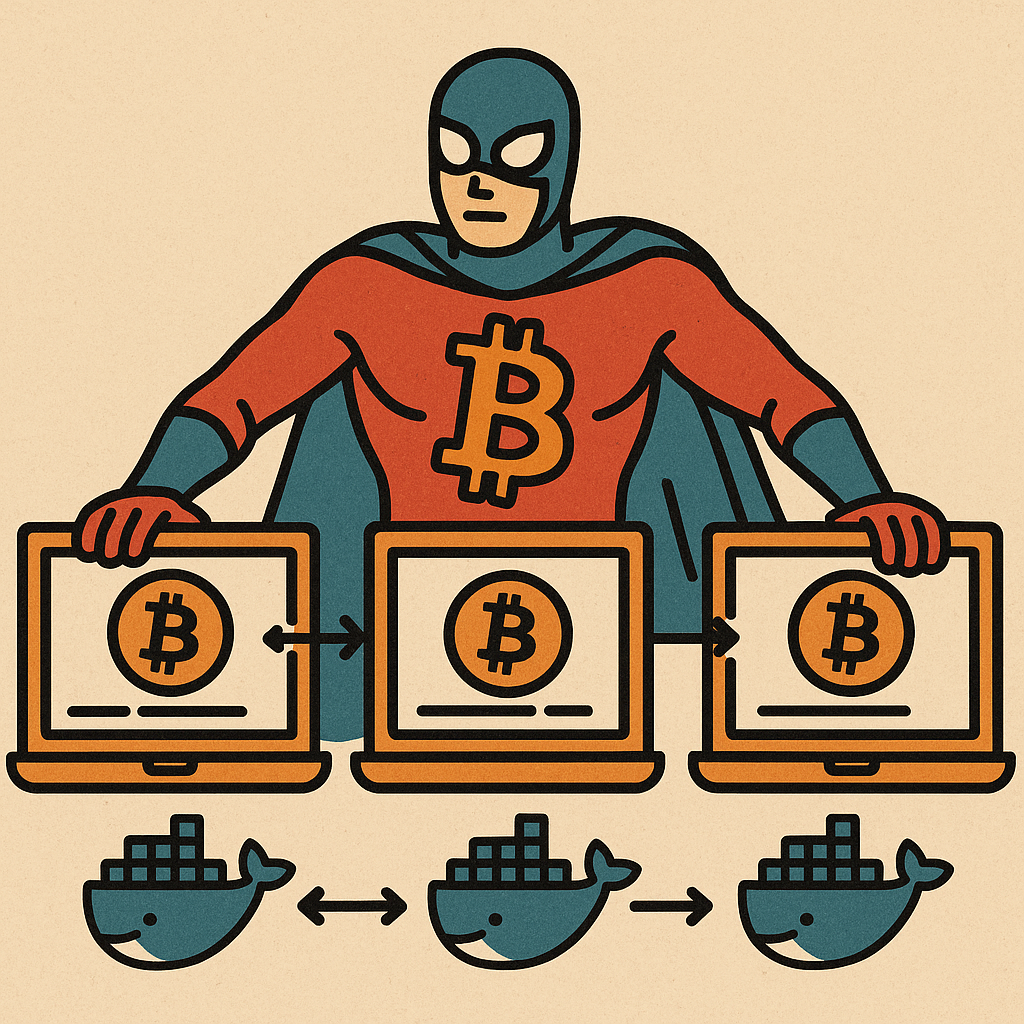
During my initial research period at UAB, I began developing a replica of the real Bitcoin mainnet. While this might sound unusual—especially given the existence of testnet and regtest networks—there’s a clear reason behind it.
This initiative emerged from the team’s need to identify unique transaction fingerprints left by various wallet software and to cluster addresses based on the tools used to generate them. Since many wallets offer limited or no support for testnet or regtest environments, this situation led us to create a full-featured, mainnet-like environment instead.
The implemented mainnet is built directly from the original Bitcoin Core source code, but it operates in complete isolation from the real Bitcoin network.
- Which are the benefits?
- Total control over the chain logseq.order-list-type:: number
- Enables operations in a “distributed-nature” environment without the challenges of being truly distributed.
- Supports large-scale transaction testing
- Easy to deploy, as every node runs inside a Docker container logseq.order-list-type:: number
- Software and Hardware testing compatible only with mainnet logseq.order-list-type:: number
- Zero-cost transactions logseq.order-list-type:: number
- Total control over the chain logseq.order-list-type:: number
- Which are the requirements?
- Segwit and Taproot must be enabled from the genesis block, as their activation heights affect transaction validation. If a Segwit or Taproot address appears before its expected height, the node would consider it invalid.
- The network must remain fully isolated from the internet to prevent synchronization with the original Bitcoin blockchain.
- Architecture
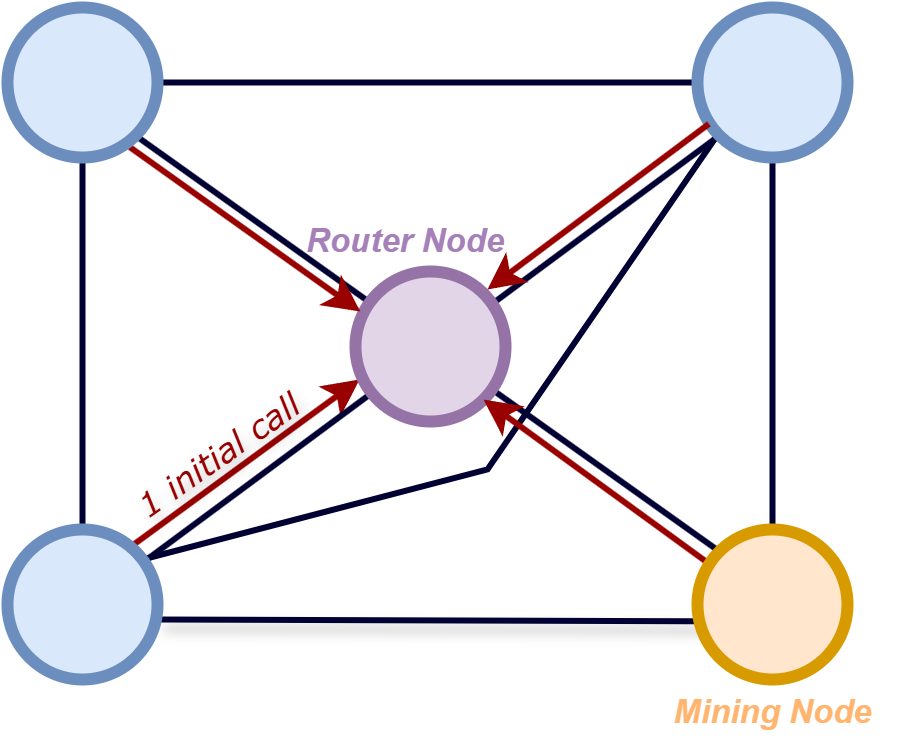
- We can define three critical node types:
- Full Node: Ensures consensus on the chain.
- Router Node: Manages connections between peers.
- Miner Node: Mines a block when a transaction is sent to the network.
- We can define three critical node types:
- Each node is contained in a custom Ubuntu-based Docker image with Bitcoin Core 24.0.1 inside. The image is approximately5.11 GB in size. These Docker containers are generated using a Dockerfile, which downloads the minimum requirements to execute Bitcoin Core. In general terms, the Dockerfile clones the Bitcoin source code, modifies a couple of files, and compiles it. Then, it copies the bitcoin.conf and mining scripts, finally exposing port 8333 for the Bitcoin protocol.
- The two modified files are: – chainparams.cpp: Modified to implement SegWit and Taproot from the genesis block. – mining.cpp: Modified to remove initial block validation, allowing the mining template to be received even when it’s not fully synchronized.
- An entrypoint is created to ensure the service runs with only the minimum permissions and allows Docker to start only if the bitcoindservice is active.
- Configuring bitcoin.conf
bitcoin.confis the configuration file used by the Bitcoin Core daemon to run your node with specific parameters.- So, how should we configure our bitcoin.conf file to achive this bedtest? Actually, it’s quite simple—just ensure the following settings:
- rpcallowip: Limit access to the Docker network (or, if you want to connect with an external IP, you can specify that IP).
- paytxfee: Since the blockchain doesn’t contain any data, the fee estimation algorithm may fail. We must set the fee manually, e.g., 0.0001 BTC.
- minimumchainwork: Set to 0 since this new mainnet will not have any work yet.
- txindex: Set to 1 to enable indexing transaction searches (useful for testing but not mandatory).
- You can play on generating your own bitcoin.conf here 🙂
- Network
- Each Docker container is generated within a Docker network, which limits its connections and prevents it from connecting to anything outside the network. The connection between nodes is established through the addnode configuration, which connects each node to the router node.
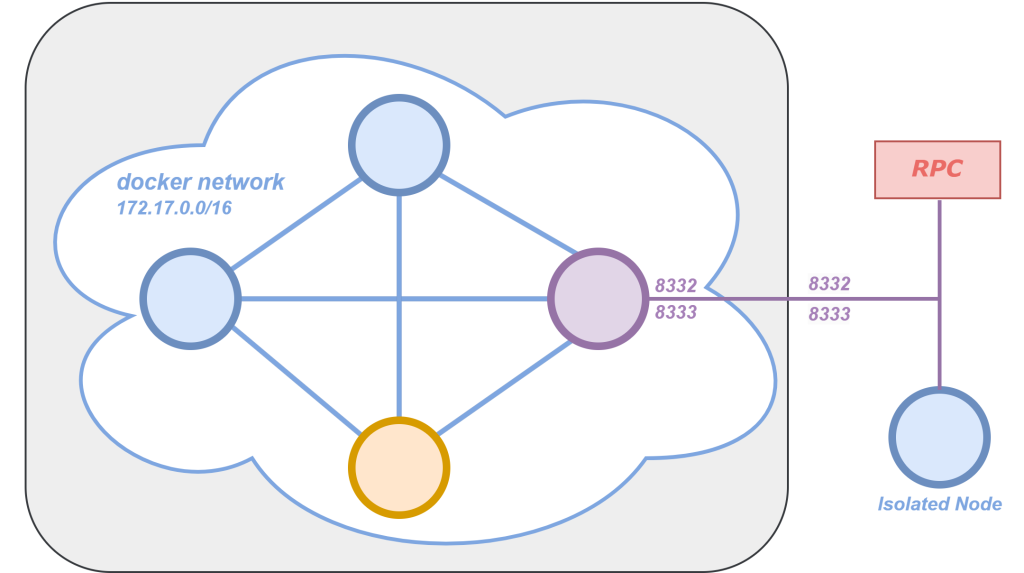
- Additionally, there are several ways to interact with this network, but it must always remain disconnected from peers on the real mainnet. In our setup, we’ve defined an isolated node on a separate network and configured the settings to allow connections only between my host and the other node in the external network.
- Of course, you can connect several software wallets to the blockchain via RPC calls. However, all connections must come from an endpoint where RPC calls are allowed by our node.
- Mining
- You can mine in several ways. Since the difficulty is set to 1, it shouldn’t be very difficult to find a block with a decent mining script. You can find an example script in the GitHub source, though we don’t recommend using it, as it’s not very competitive. That’s why we switched to using an ASIC miner.
- Add-ons
- Just like on the real Bitcoin network, you can always add services to your node. In our case, we needed a faucet to freely get bitcoins when necessary, and a block explorer to track transactions.
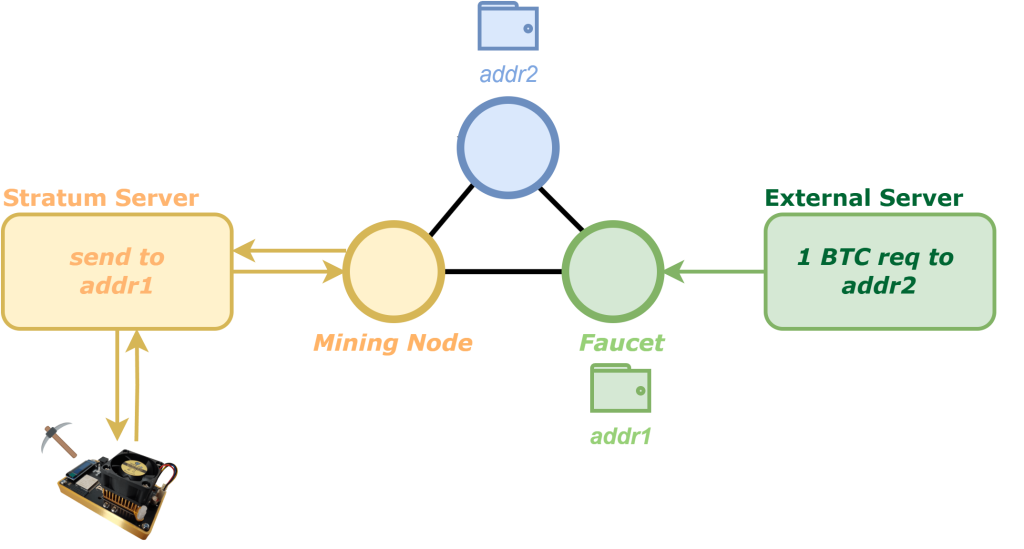
- Faucet
- To create the faucet, we implemented a simple Node.js server that sends and receives information from a node.
- Although the image below shows two separate nodes to manage coins (one for mining and one for the faucet), we could combine them so the faucet always has enough balance to distribute. Everything was containerized in Docker for easier deployment.
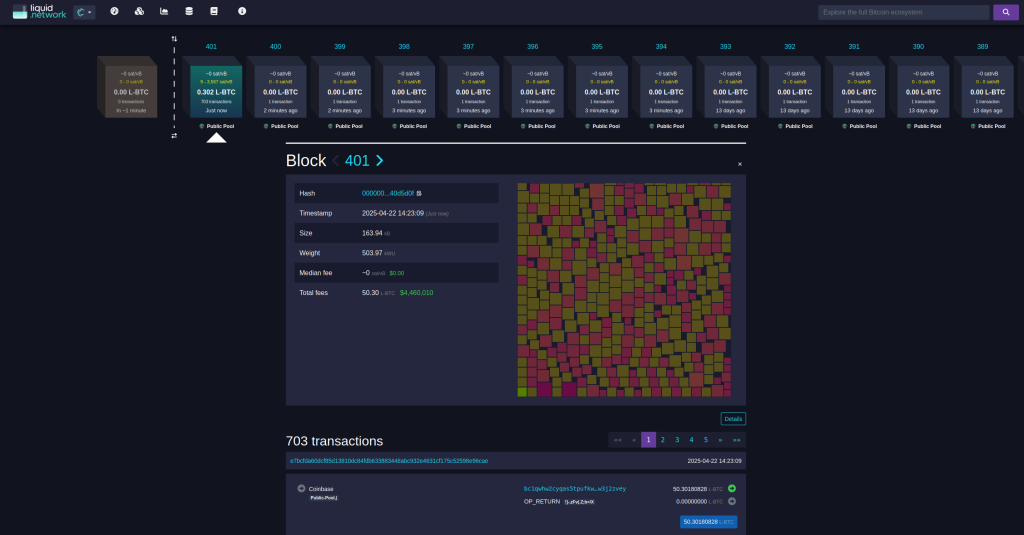
- Block Explorer
- If desired, you can also implement a block explorer. We deployed a Dockerized version of Mempool Space locally to enhance our ability to explore blocks and transactions.
- How to build it
- Alright, the real fun begins now, how do we build it and actually use it? You’ve got a detailed guide over on the GitHub README, but let me break it down for you here 🙂
- Prerequisites
- Docker (v20.10 or higher recommended)
- Installation
- Method 1: Download the Image from GitHub Container Registry
- You can directly pull the pre-built Docker image and run the setup script without building the image from source following these steps:
# Pull the image from the GitHub Container Registry docker pull ghcr.io/niktowcode/mainnet_testbed:1.0 # Clone the repository git clone https://github.com/NiktowCode/BTC-Labnet.git cd BTC-Labnet # Run the script to set up Docker containers (commenting out the build step): ./start.sh
- You can directly pull the pre-built Docker image and run the setup script without building the image from source following these steps:
- Method 2: Build from Source
- Follow these steps to build the image from source:
# Clone the repository: git clone https://github.com/NiktowCode/BTC-Labnet.git cd BTC-Labnet # Run the script to set up Docker containers: ./start.sh- After execution, three interconnected Bitcoin nodes (bc-node1, bc-node2, and bc-node3) will be created.
- Follow these steps to build the image from source:
- Method 1: Download the Image from GitHub Container Registry
- Setup Process
- Building a Customized Docker Image for Bitcoin-Core
- Modify Bitcoin-Core: Adjust the Bitcoin-Core code to enable SegWit and Taproot.
- Create a Dockerfile: Use your own
Dockerfileto build your custom Bitcoin-Core image. - Build the Docker Image: Run the following command:
docker build -t bitcoin .
- Setting Up the Docker Network
- Create a Docker bridge network
docker network create -d bridge bitcoin_network
- Create a Docker bridge network
- Running Bitcoin Nodes
- Start your Bitcoin node:
docker run -it -d --network bitcoin_network --name bc-node1 -p 8333:8333 -p 8332:8332 bitcoin -printtoconsole -txindex=1 -reindex
- Start your Bitcoin node:
- Building a Customized Docker Image for Bitcoin-Core
- As you can see, installing it isn’t too complicated. While the build does compile Bitcoin Core, so it might take a few minutes, once it’s done… you’ll have all the power to do whatever you want with your Bitcoin blockchain clone